
Category: Technical Skills
Level: Beginner
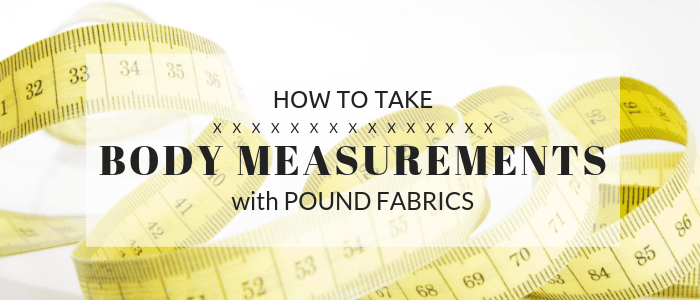
There are many reasons why learning to take yours and others’ body measurements is essential to sewing. If you are creating your own original patterns or designs, measurements are essential for understanding how your garment will fit and ‘work’ in practice, and if you’re buying a pre-made pattern, you will need to take measurements to determine which size to purchase and cut.
Precision is key when taking measurements, and although it won’t take long to get key figures, it is always worth double checking your numbers – measure twice, cut once!
In this guide, we have included instructions on how to measure key body parts, including; Neck, Bust, Waist, Hips, Front to Waist, Back to Waist and Arms. These measurements are all you need to get the perfect fit on any garment!
You Will Need
- Someone to measure!
- Notebook and pen (to record measurements).
- Tape measure – ideally use a measure with metric and imperial units, and double check which unit your pattern uses for easy reference.
If you are creating a garment for someone else, measurements are a little easier to take. Make sure the individual stands still, doesn’t slouch and manoeuvres their body parts to make them easier to measure, as per your instruction! Measuring yourself is a little more difficult as you must position yourself in some rather unnatural poses to get measurements, but can be done – although we would always recommend getting someone else to measure you to double check your measurements.

Measuring the Neck
Neck measurements are essential for items which have collars, or any kind of raised neckline. To measure, pull the tape around the base of the neck, not too tight that the tape leaves any kind of impression, and measure the widest point.
Measuring the Bust
The bust/chest measurement will vary depending on whether the individual you are sewing for will be wearing a bra or not, as a bra can drastically alter the bust measurement, with extra lift and padding! It may be best to take this measurement both with and without underwear, so that you can refer to both measurements when deciding how something will be worn in the future. To measure, pull the tape around the fullest part of the bust, keeping the tape horizontal and parallel to the floor. Again, measure the widest or fullest point.
Measuring the Waist
To measure the waist accurately, you must locate the ‘natural waist’, usually just below the rib cage, near the belly button. This will be the waist’s narrowest point. To measure, place the tape around the waist area, keeping the tape horizontal, and record the measurement.
Measuring the Hips
Hip measurements are taken in a similar way to waist measurements, but you instead locate the widest part of your hips to measure. Place the tape around the hip area, keeping the tape horizontal, and record the measurement.
Measuring Front to Waist Length
This measurement represents the length between the base of the front of your neck (just above your collar bones) and the point at which your garment ends, or you intend it to end on your body. Keep the tape taut and as straight as possible, and record the measurement between the neck starting point and where the garment will end. This measurement will vary depending on the garment you are making and the design.
Measuring Back to Waist Length
If you are new to sewing, you may assume that the front to waist and back to waist length of a garment will be the same, but this is almost always not the case. This is due to differences in the broadness of back and buttocks, in comparison to the protrusion of things like the bust on the front! Start your measurement at the nape of the neck, and continue to the desired length of your garment. Again, this measurement will vary depending on the garment you are making and the design.
Measuring Arm Length
When measuring arm length, you need to make sure you consider how the arm must move and bend frequently in the garment, requiring space to move freely. To overcome this problem, make sure you take this measurement with the arm slightly bent, placing the tape at the top of the arm and following the line of the arm until the wrist, or desired sleeve length.
It may be worth recording a few different lengths that you are comfortable for different garments to be – for example, where a blouse would comfortably lie on the upper body, and a comfortable length to the legs for a dress, which you can then refer to later to gauge how suitable a pattern would be, and whether you would need to alter it. Similarly, with sleeves, record your short sleeve, crop sleeve and full sleeve length for pattern comparisons.
Of course, there are other measurements that could be made for more specialist items, but these basics should help you to determine which pre-made patterns you need to purchase, or create accurate patterns yourself!
How have you found taking measurements? Do you have any special tips or tricks? Let us know below!
Leave a comment (all fields required)